A comic introduction to craniotomy
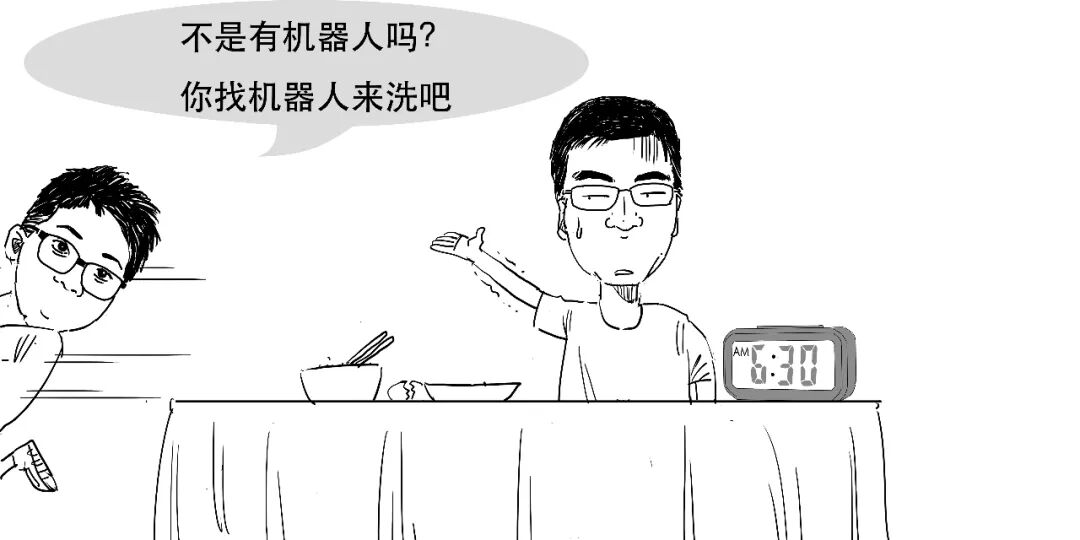
It was an ordinary morning.


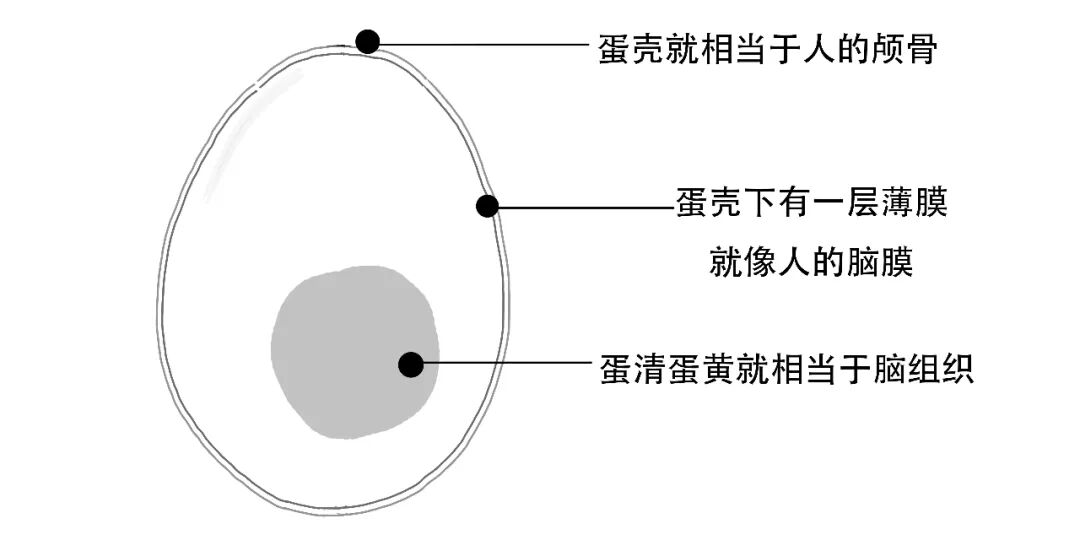
The brain is a delicate, precisely organised structure, a little like this small egg.
During craniotomy, surgeons must open it and locate the precise site for treatment without injuring other areas.
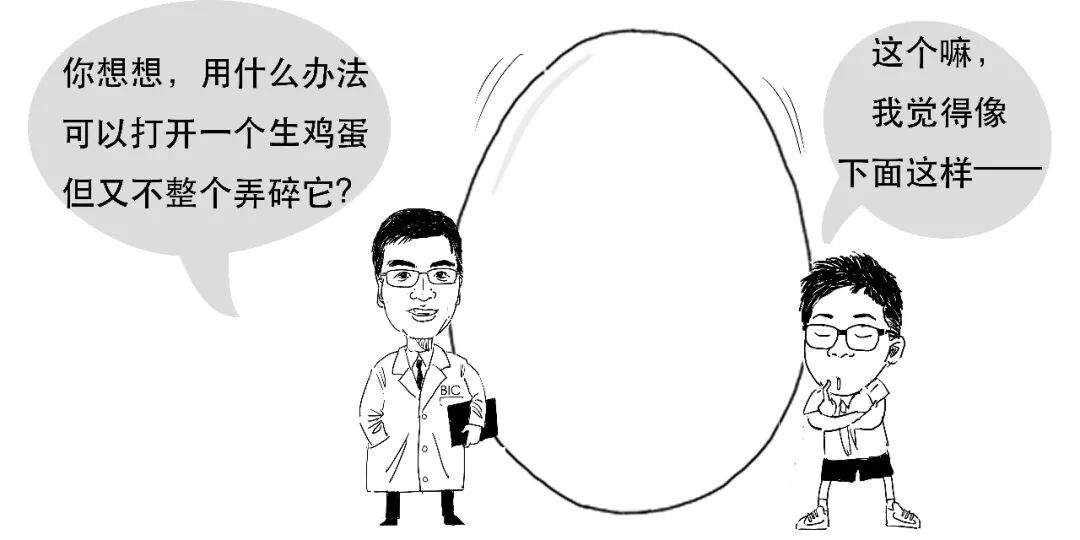
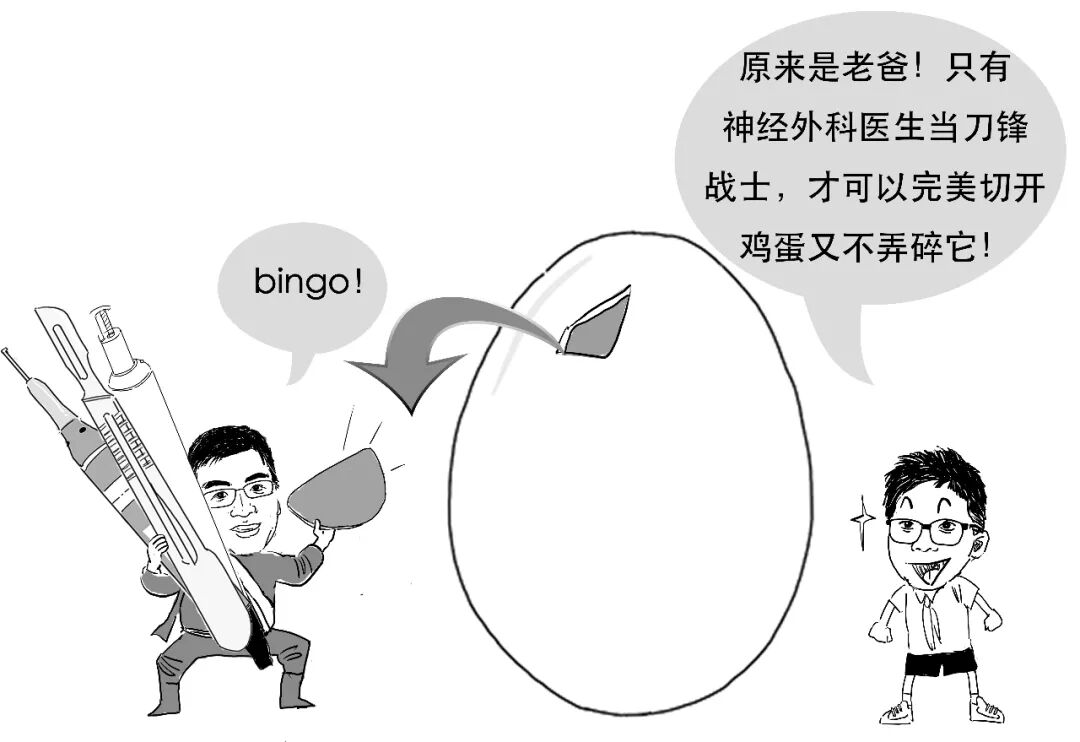
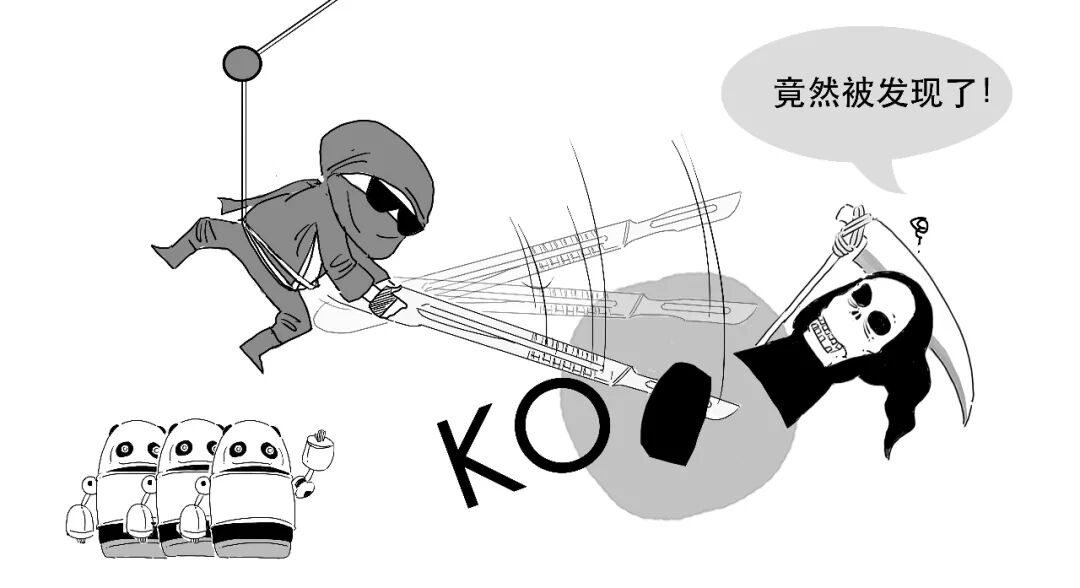
A short scene: the blade warrior and the egg.

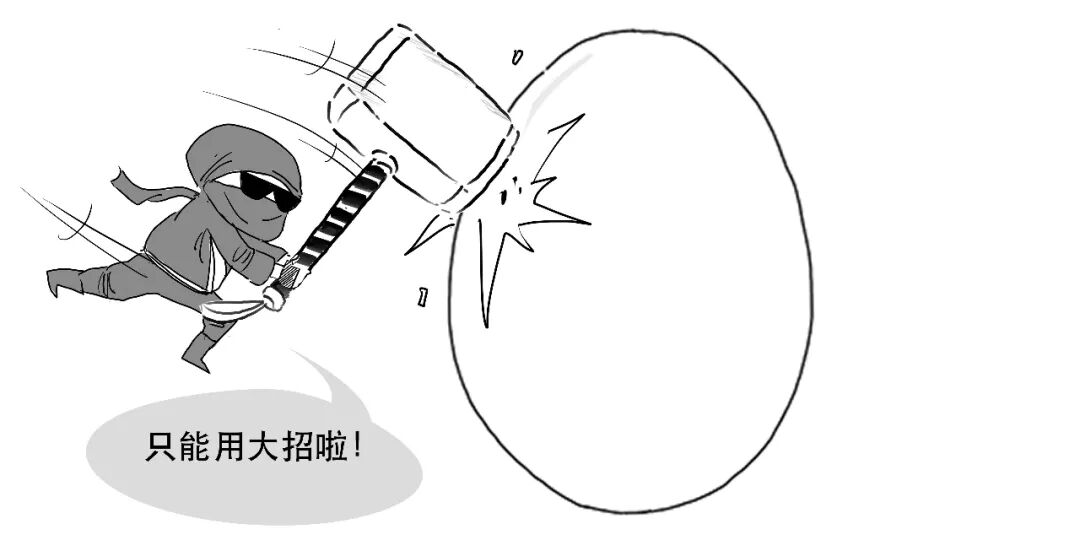
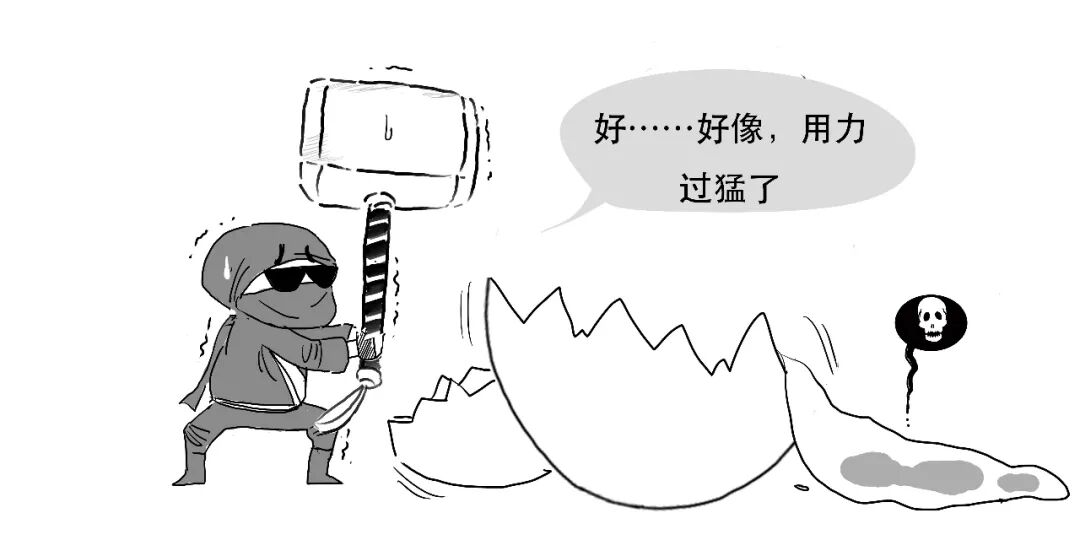

Performing a craniotomy is no less demanding than opening a raw egg.
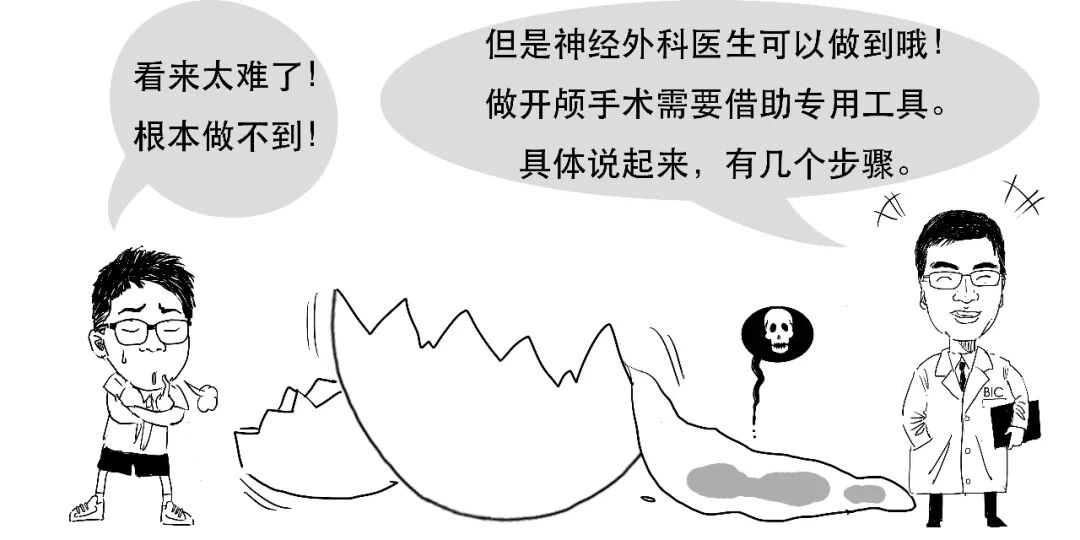
Step 1. Open the skull.
We will simulate the process using an egg with “hair”.
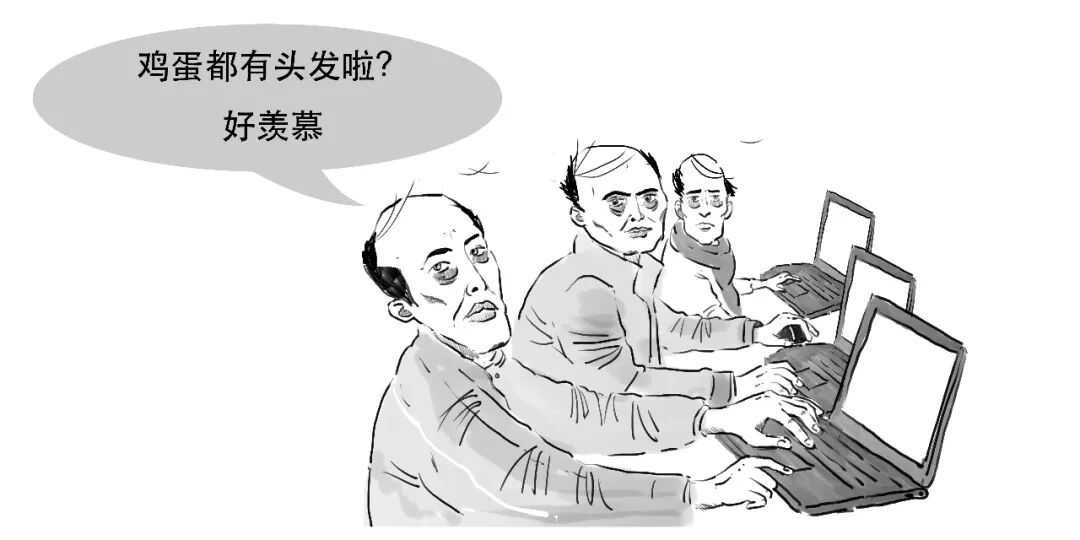
This is only a simulation.
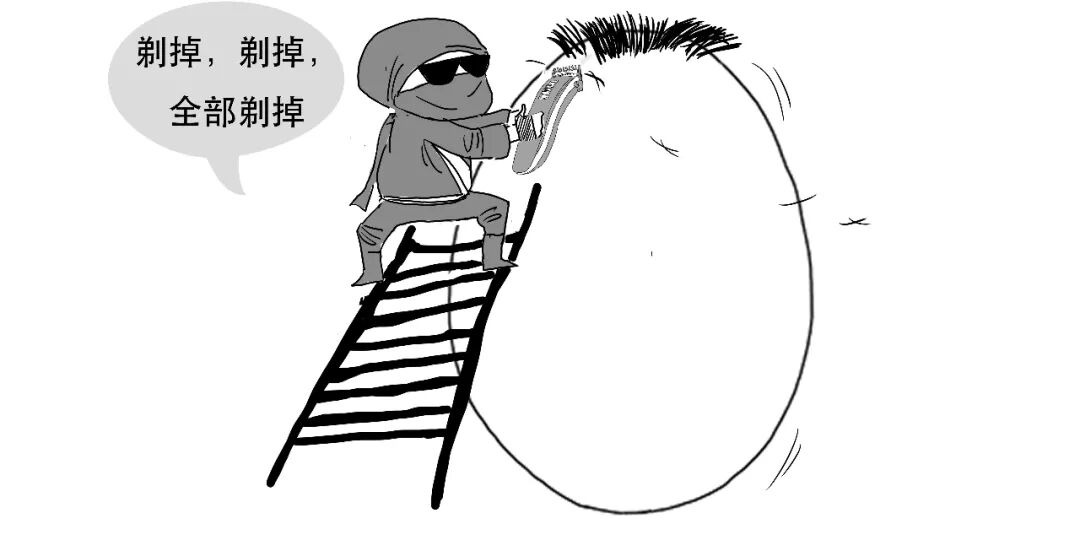
1. First, shave the patient's hair.
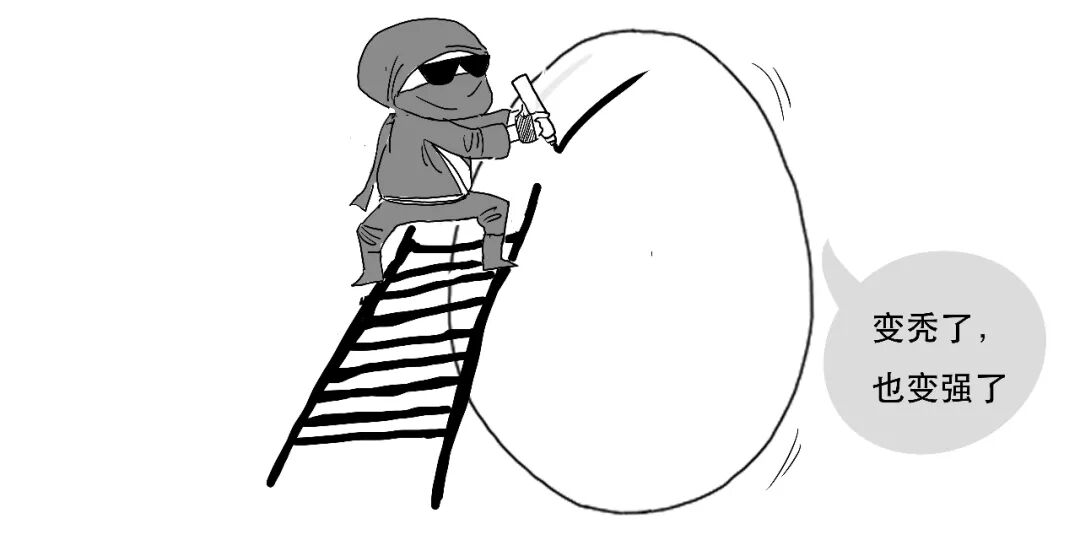
2. Mark the planned incision on the scalp with a marker.
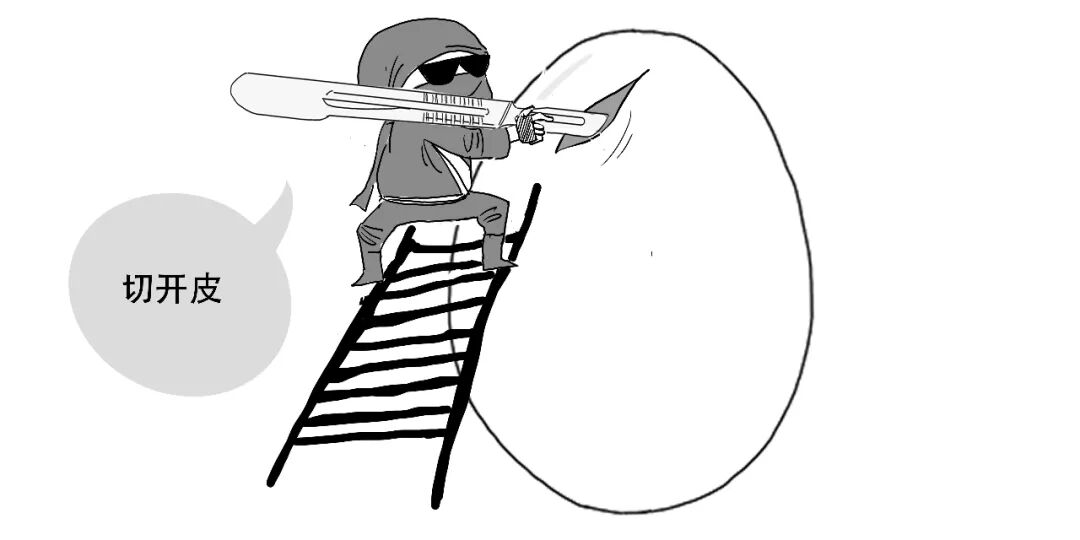
3. Use a scalpel to cut the scalp along the line,
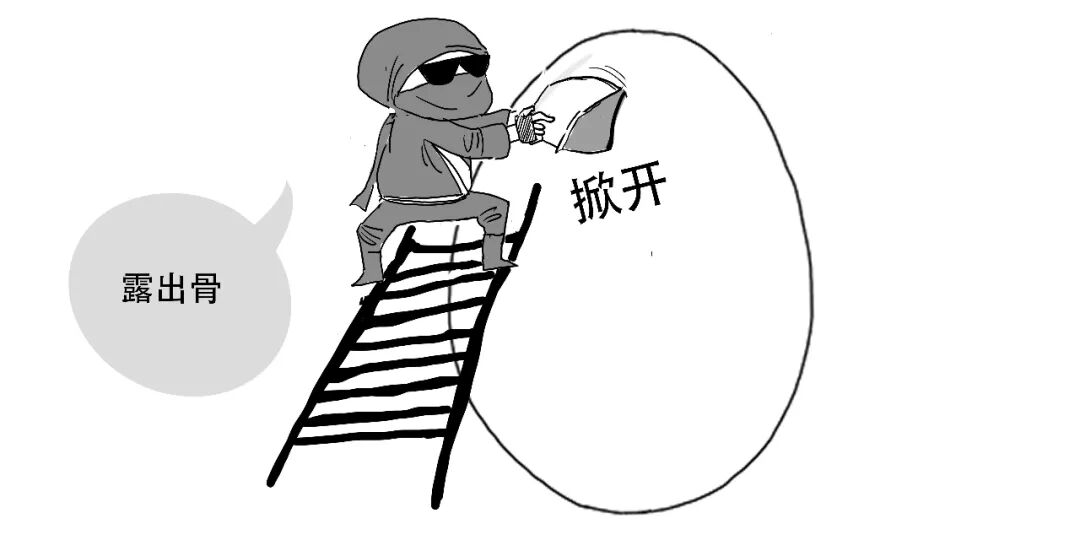
then lift the scalp to expose the skull.
4. Drill one or two burr holes in the skull.
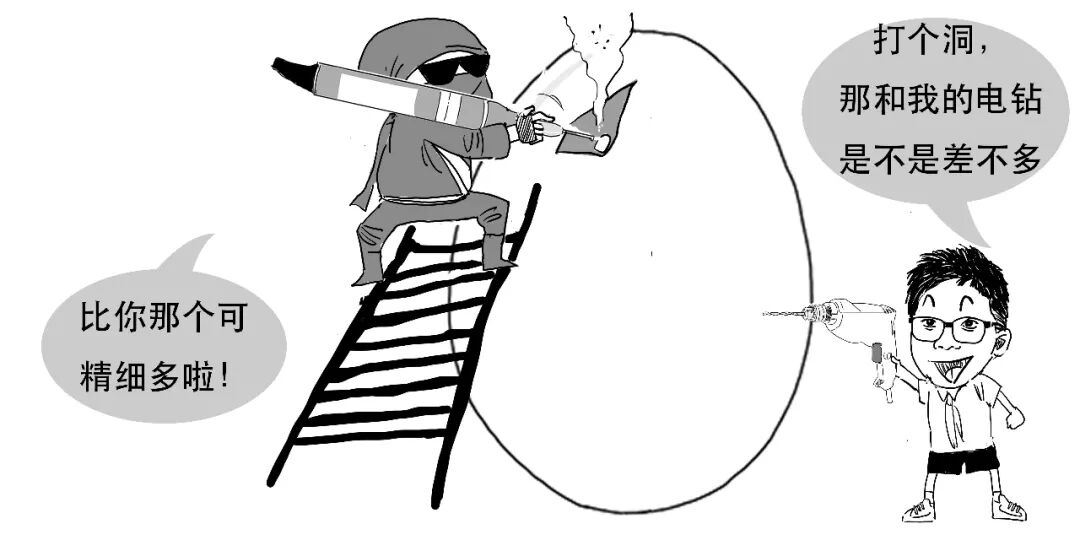
Insert a craniotome through a burr hole. This cutting tool follows the outline of the bone flap to be removed.
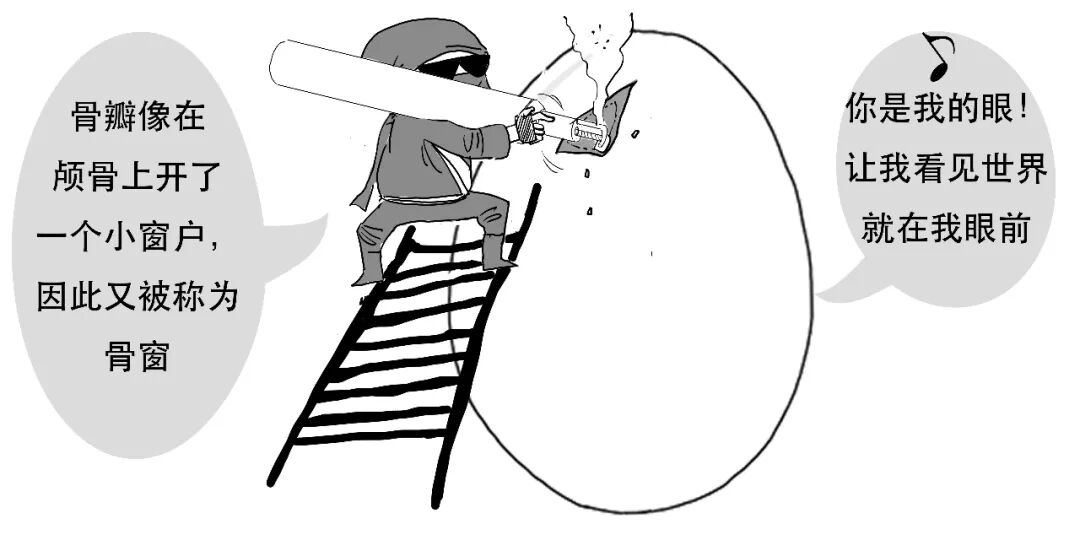
High-speed drilling and cutting produce heat and bone debris. Both high temperature and foreign material can damage intracranial brain tissue.
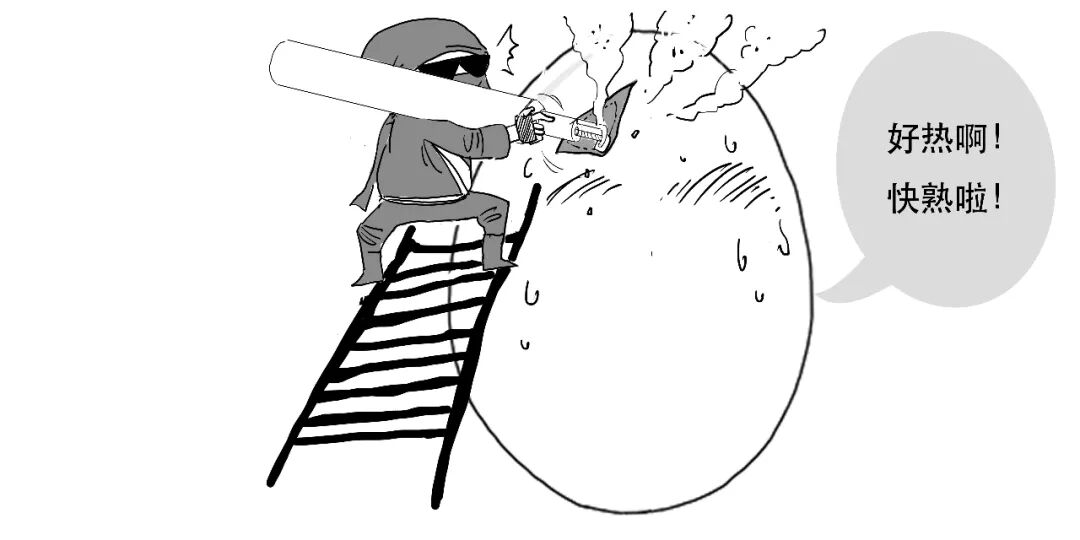
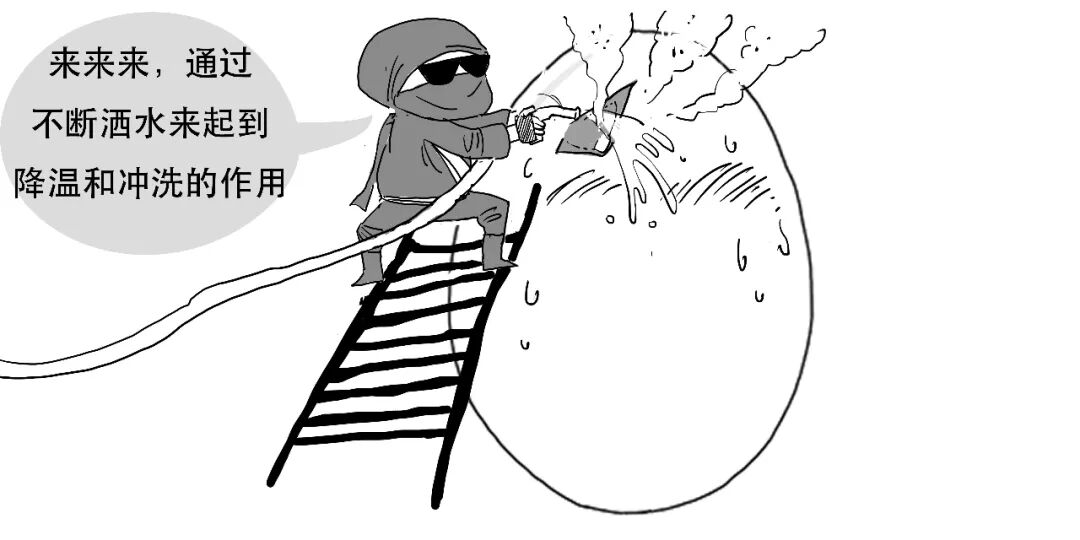
Neurosurgeons therefore use the following methods to protect the brain while drilling holes and cutting the flap:
Lift away the bone flap, and the “eggshell” has been successfully opened.
Step 2. Open the meninges.
With the skull open, the meninges must be incised. These are three membranes between skull and brain: from outside inward, the dura mater, arachnoid mater and pia mater.
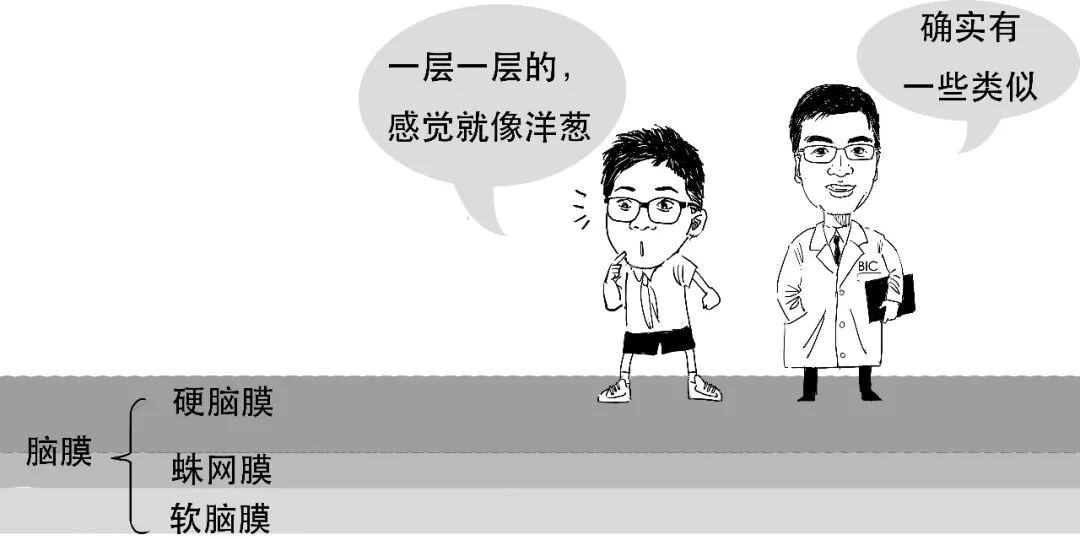
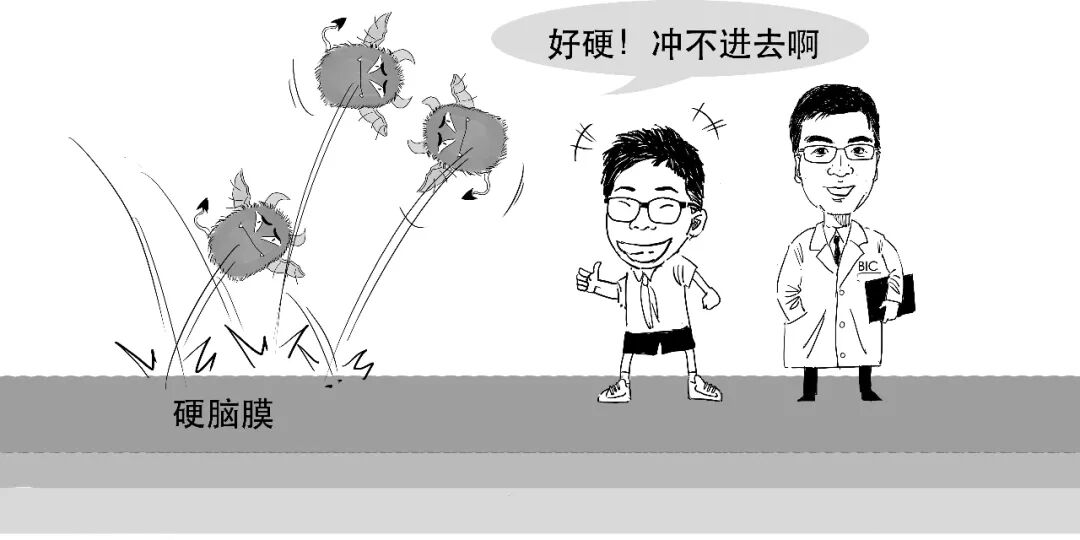
The tough dura consists of two tightly joined layers. It forms a dense mechanical barrier protecting brain tissue. Its integrity is important in preventing intracranial infection and other invasive complications after neurosurgery.
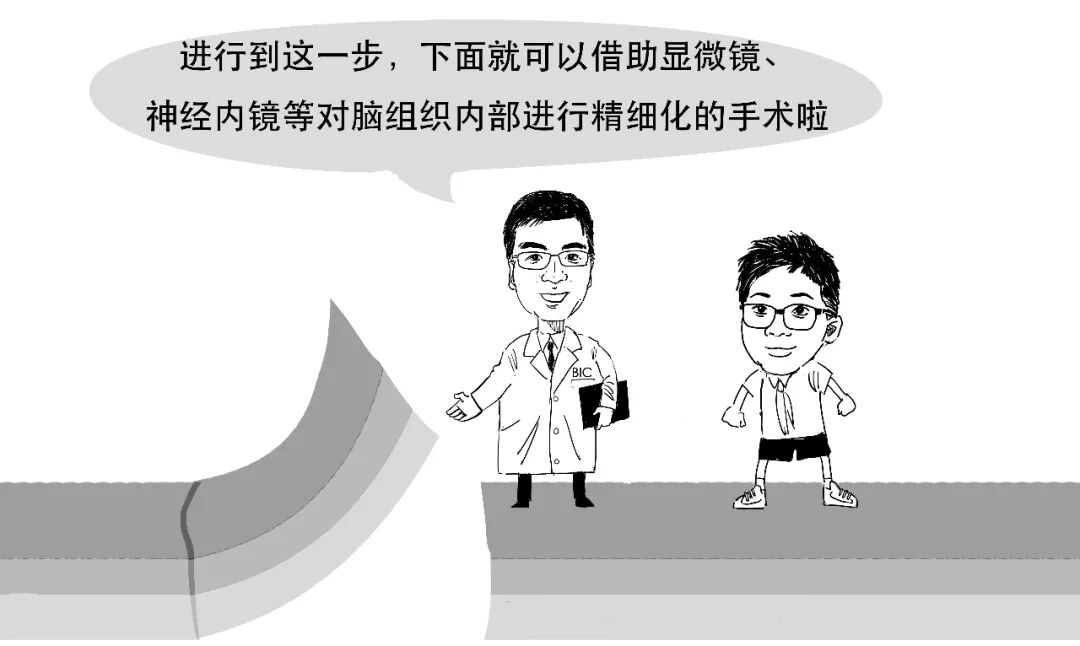
After opening the dura, the arachnoid and pia can be seen close to the brain surface. The arachnoid is a translucent membrane deep to the dura; the pia is a thin transparent membrane closely attached to the brain.
Step 3. The operation itself.
Even after the meninges are opened, brain tissue resembles a star-filled universe. Finding the precise operative location is crucial.
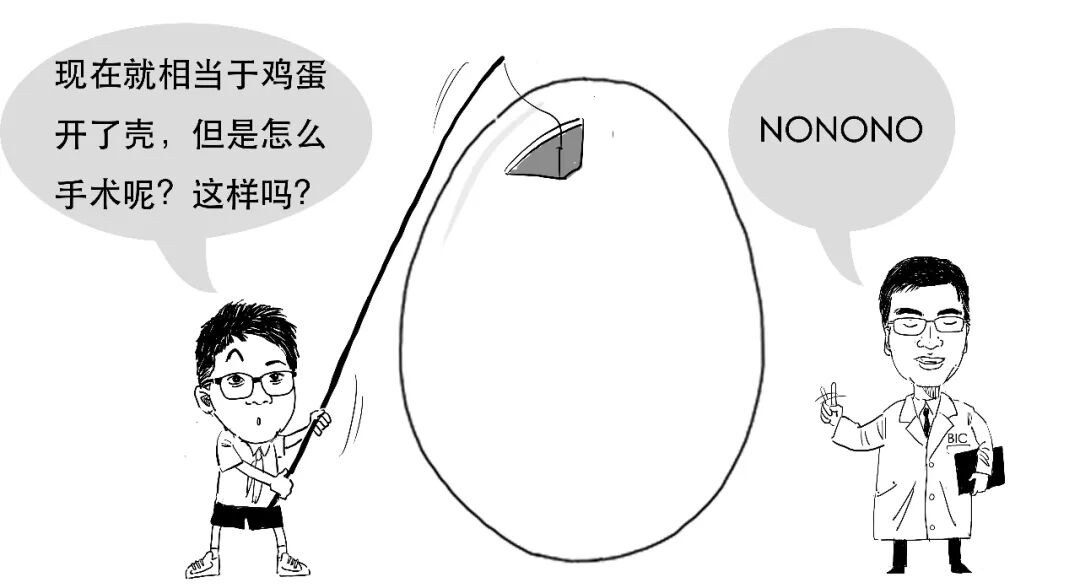
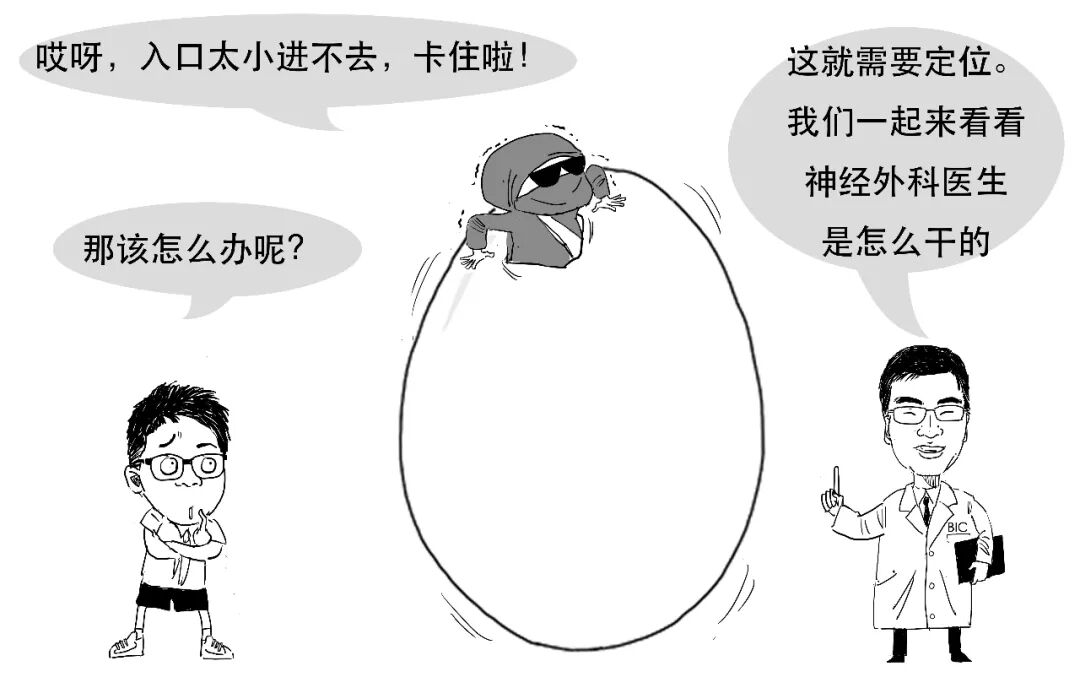
Neurosurgical targets may be superficial or deep, but intracranial procedures often require working through a small bone flap. Relatively minimally invasive endoscopic operations can place still tighter limits on the entry through the bone window.
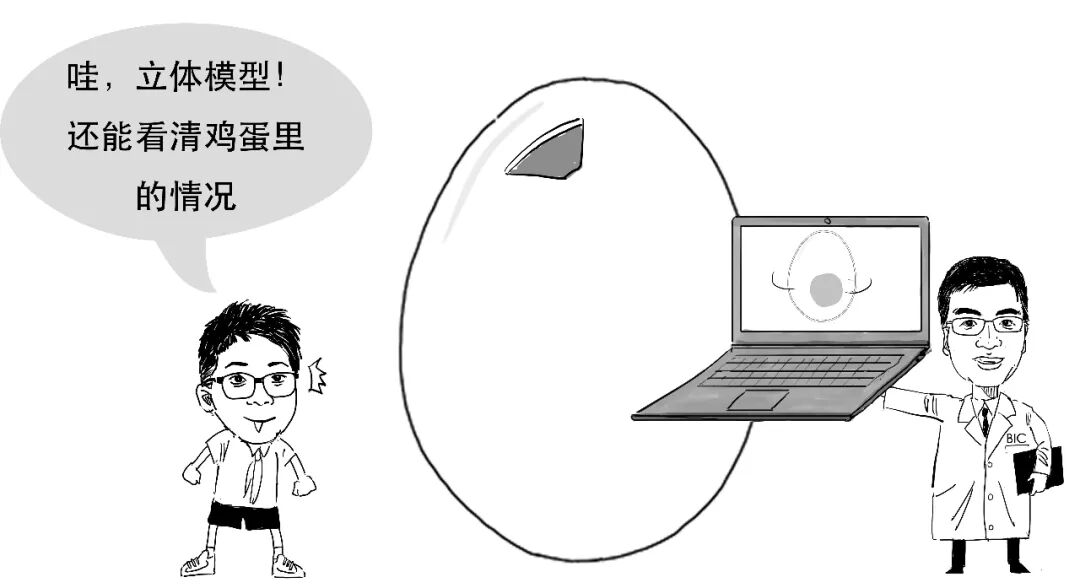
Imaging allows neurosurgeons to construct a three-dimensional head model on a computer.
Localisation methods include stereotaxy, neuronavigation and surgical robot systems. For example, a robot can locate an intracranial tumour precisely using three coordinate axes.
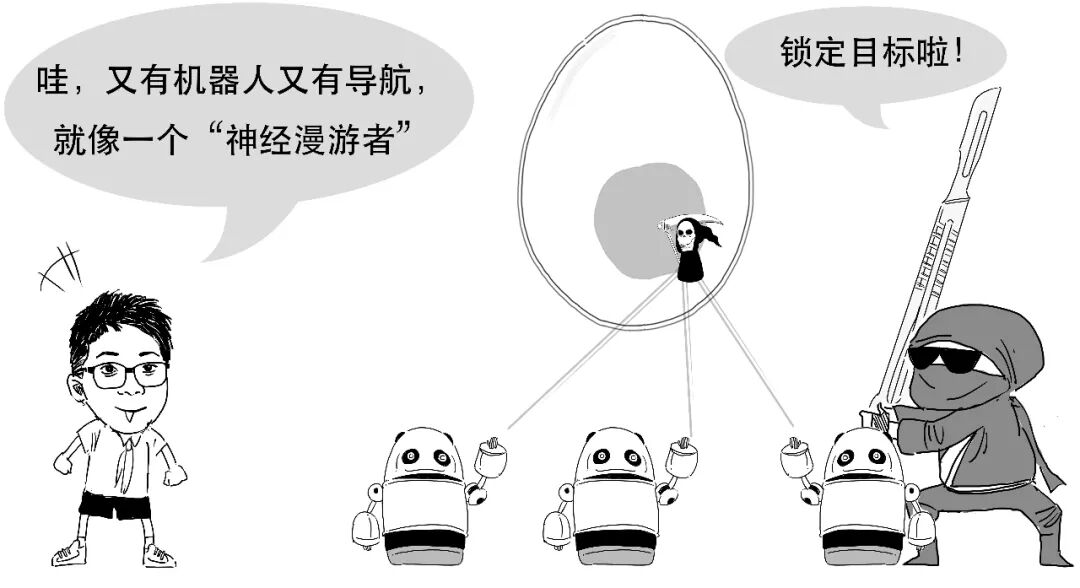
The robot calculates and positions its arm at the external entry point for a puncture. Following the arm's direction and advancing the computer-specified distance allows the surgeon to reach the intended target precisely.
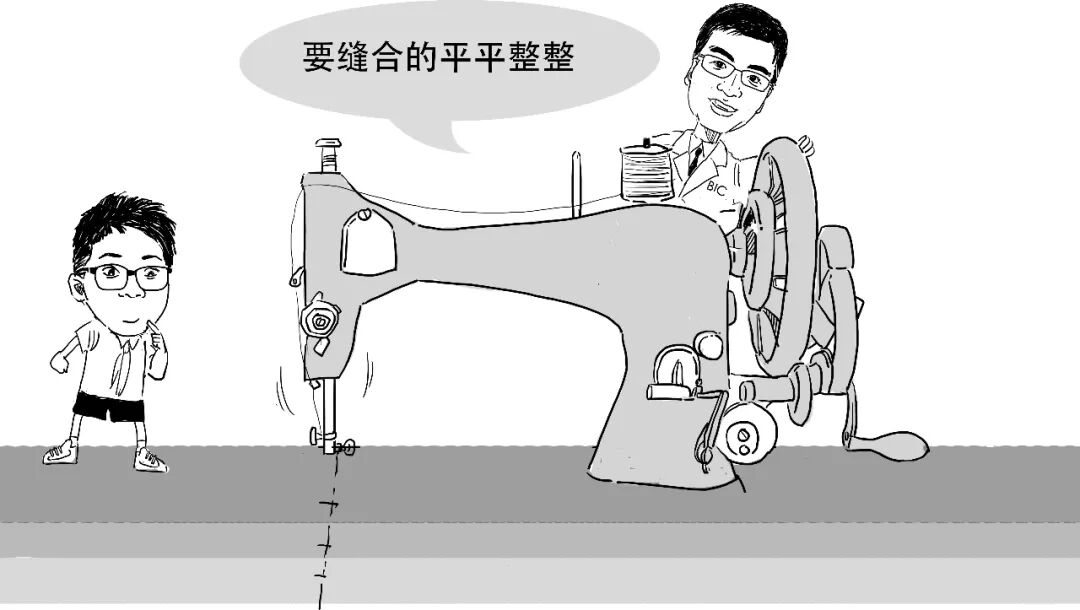
Craniotomy demands meticulous work before and during surgery. Afterwards, the dura must be tightly sutured to avoid CSF leakage.
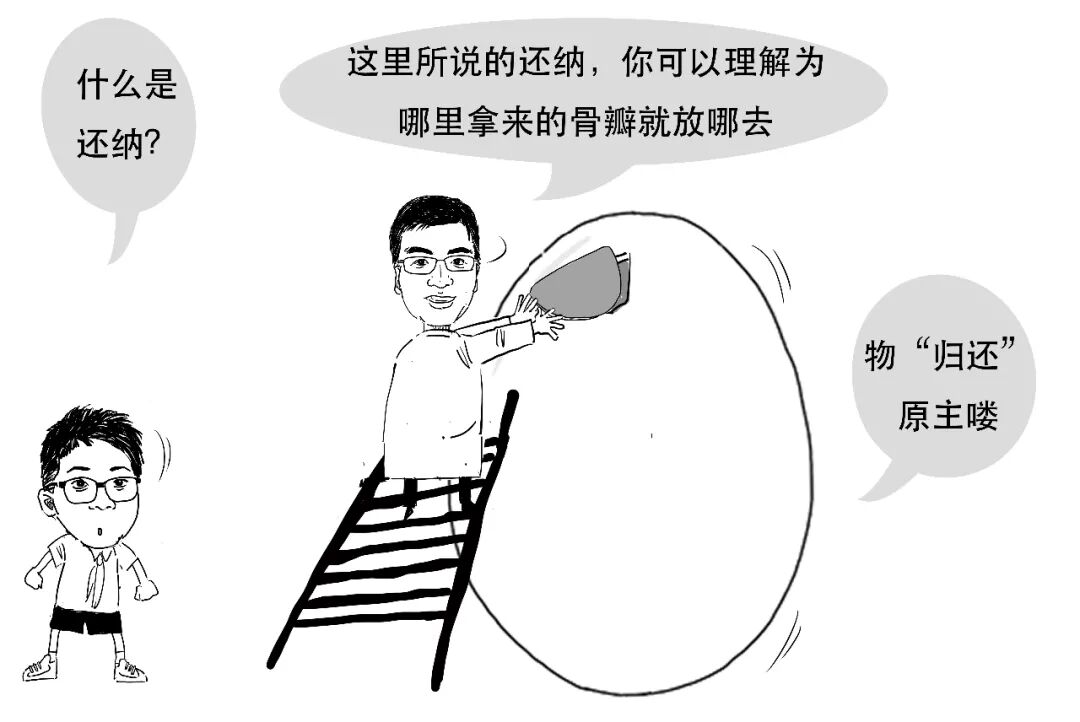
Depending on the operation's purpose, some patients' bone flaps are replaced.
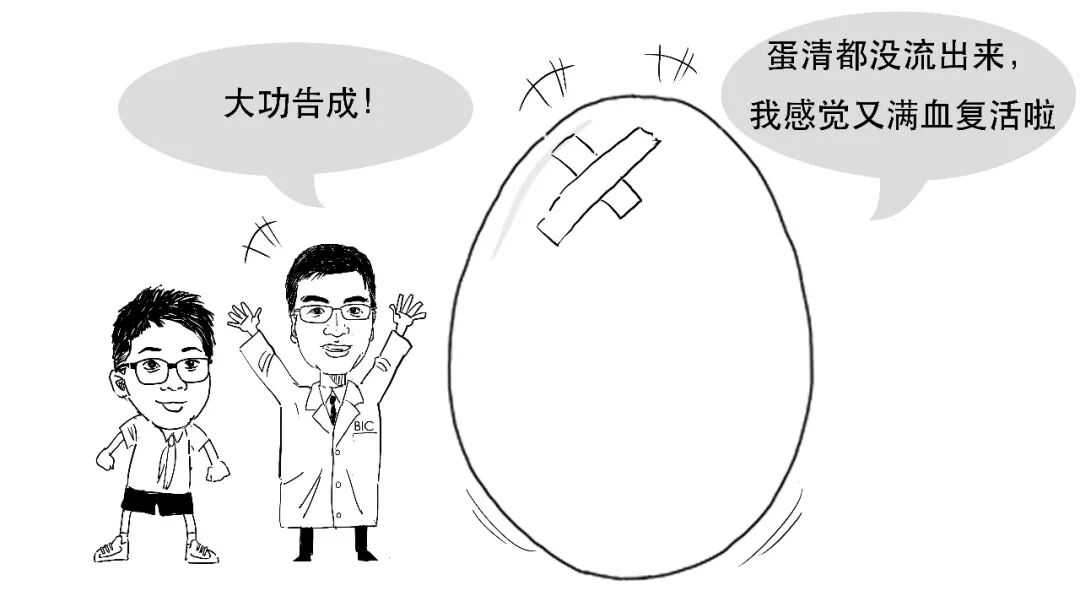
After securing the bone flap, the scalp is sutured, completing the basic craniotomy process.
It really was not an ordinary morning.

Thanks to the professional adviser for this article.
Disclaimer
This is a serial neuroscience education comic. We aim for accurate, reliable information, but it is not medical consultation advice and should not be used to diagnose neurological disease. For related conditions, attend a qualified hospital.
这是一个普通的早晨。
大脑是一个精密的组织,
结构就像这小小的鸡蛋——
医生在做开颅手术的时候,既要打开它、精准地找到做手术的地方,又不能对其他地方有所伤害。
小剧场:刀锋战士与蛋
给病人做开颅手术,
难度不亚于打开一个生鸡蛋。
step1. 打开颅骨
我们用一个有“头发”的鸡蛋来模拟这个过程。
我们只是模拟下过程。
(1)首先需要把病人的头发都剃掉。
(2)其次,用马克笔在头皮上画出需要切开的地方。
(3)然后用手术刀沿线划开头皮,
再掀开头皮,这时候颅骨就暴露出来了。
(4)用磨钻在颅骨上钻1-2个骨孔。
而后,从骨孔处放入铣刀。
铣刀是用于切削的工具。
医生用铣刀划出需要切除的骨瓣形状。
但是磨钻和铣刀在高速运转中会产生大量热量和骨渣,高温和异物会对颅内脑组织产生损害。
因此在磨骨孔和划骨瓣的过程中,神经外科医生还会用以下方式来保护大脑——
这时候再撬去骨瓣,就算是完美去掉了“蛋壳”。
step2. 切开脑膜
目前,我们已经成功打开颅骨,下面我们就需要切开脑膜。
脑膜指的是颅骨与脑间的三层膜,由外向内为硬脑膜、蛛网膜和软脑膜。
硬脑膜质地坚韧,是贴合紧密的两层结构。
它是保护脑组织的一层致密的机械屏障,因此硬脑膜的完整是保证在神经外科手术后病人不发生颅内感染等侵入性并发症的关键。
打开硬脑膜后,可以见到紧密贴敷于脑组织表面的蛛网膜和软脑膜。
蛛网膜是一层半透明的膜,位于硬脑膜深部;而软脑膜是紧贴于脑表面的一层透明薄膜。
step3. 正式手术
虽然切开了脑膜,但脑组织就像宇宙星空,找到手术准确位置非常关键。
神经外科的患者手术位置有深有浅,
但神经外科手术往往只能开一个小的骨瓣,来进行颅内的手术操作。有些时候使用相对微创的内镜手术,更对手术进入的骨窗入口有限制。
神经外科医生可以通过影像学技术,在电脑上得到一个立体的头颅模型。
目前神经外科有多种定位手段,主要包括:立体定向、神经导航、手术机器人定位系统等。
比如通过手术机器人,就可以根据机器人定位的三个坐标轴,精确定位到颅内的肿瘤。
然后,机器人根据计算可以将机械臂定位到需要穿刺操作的体外定位点,外科医生沿着机械臂指向的方向进入计算机显示的距离,就可以精确到达所需的部位。
开颅手术是个非常精密的手术,不光术前术中要一丝不苟,手术结束后,也需要严密的缝合硬脑膜,使脑脊液不会有外漏的风险。
根据手术目的,
部分患者的颅骨还需要“还纳”操作。
固定好颅骨之后,再缝合头皮,开颅手术的大致流程就结束了。
这可真不是一个普通的早晨。
感谢本文专业顾问
免责声明
本文为神经科学科普连载漫画,我们力求相关信息准确可靠,但不将此科普内容作为求医问诊的建议,读者也不应以此漫画作为神经科疾病判断的标准。如有相关疾病,请至正规医院就诊。